

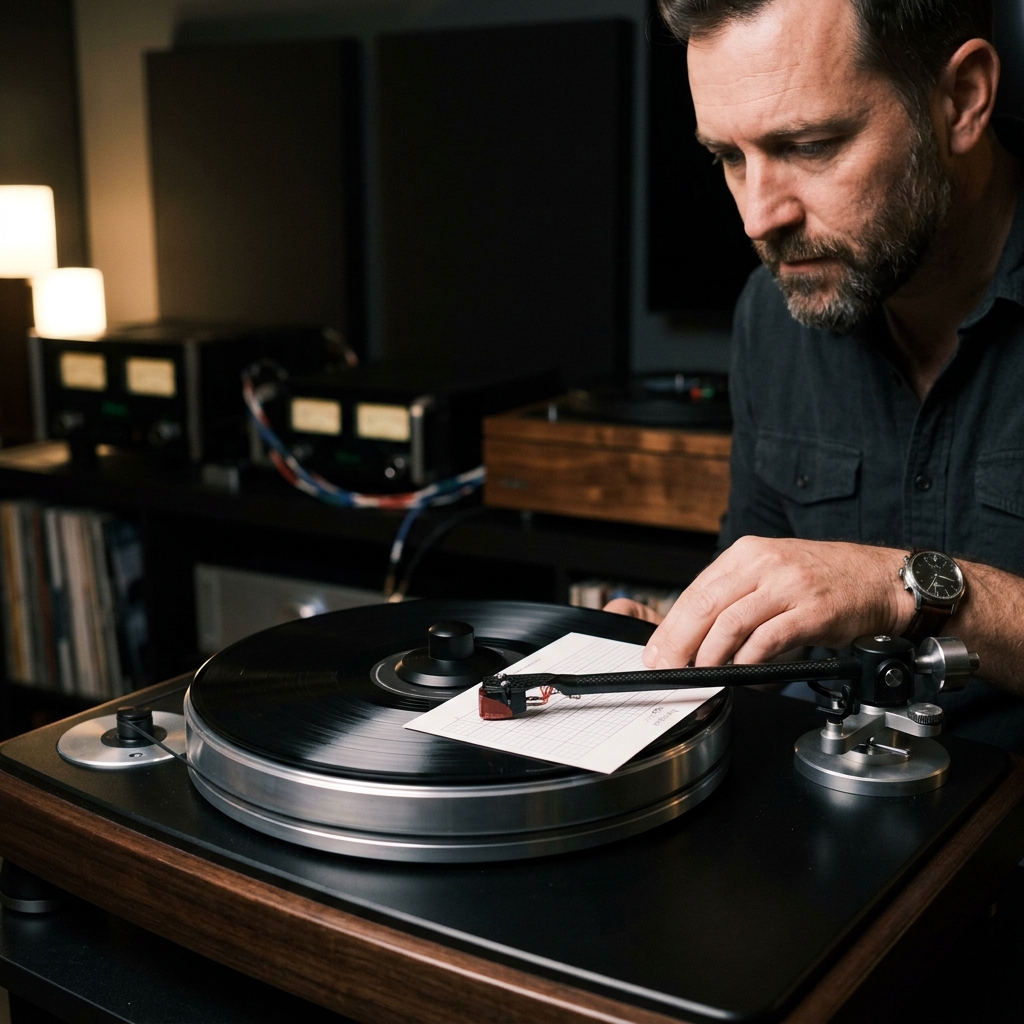
Vinyl record collecting is a tactile, mechanical process. Unlike streaming, where digital bits are processed silently in silicon, a turntable is an analog machine that relies on physical contact. A tiny diamond stylus rides inside a microscopic groove, translating microscopic bumps into electrical signals.
Because it is a physical system, even minor setup issues can have a massive impact on sound quality. A cartridge that is slightly out of alignment, a tracking weight that is too heavy, or a turntable that isn’t level can cause distortion, surface noise, and—worst of all—permanent damage to your records.
Whether you’ve just unboxed a brand new turntable or want to get better performance out of your existing setup, this step-by-step guide will walk you through the essential calibration steps to achieve audiophile-grade sound. Once you’ve perfected your setup, consider using DiscSnap to catalog and track the value of your vinyl collection.
Step 1: Find the Perfect Surface (Isolate Your Platter)
Before you touch any dials or weights, you must make sure your turntable is sitting on a solid, level foundation.
- Level the surface: Place a small bubble level (spirit level) on your turntable platter. Adjust the feet of the turntable (if adjustable) or place shims under your table/shelf until the bubble is dead-center. A turntable that isn’t level will cause uneven wear on one side of the record groove and introduce tracking errors.
- Isolate from vibration: Turntables are incredibly sensitive to external vibrations. Never place your turntable on the same surface as your speakers, as the bass frequencies will feed back into the stylus, creating a muddy sound or rumbling hum. Use a heavy, stable shelf, or place an isolation platform under your record player.
Step 2: Set the Cartridge Tracking Force (VTF)
Vertical Tracking Force (VTF) is the amount of downward pressure the tonearm applies to the record through the stylus.
- Too light: The needle will bounce around in the groove, causing sibilance (distorted ‘S’ sounds), skipping, and scratching the record walls.
- Too heavy: The needle will press down too hard, crushing the high-frequency dynamics, wearing down the stylus prematurely, and physically shaving off the vinyl over time.
How to Adjust VTF:
- Find your cartridge spec: Look up the manufacturer specifications for your cartridge (e.g., the popular Audio-Technica AT-VM95E recommends a tracking force of 2.0 grams).
- Zero out the tonearm: Unlock the tonearm and gently hold it. Rotate the heavy counterweight at the back until the arm floats perfectly parallel to the platter like a see-saw. This is your “zero” point.
- Calibrate the dial: Without moving the counterweight itself, rotate the numbered dial on the front of the weight until “0” aligns with the indicator mark on the tonearm.
- Apply the force: Rotate the entire counterweight (which will move the dial along with it) counterclockwise until the dial shows your recommended tracking force (e.g., 2.0).
- Double check with a digital scale: For absolute accuracy, buy a cheap digital stylus force gauge. Lower the needle gently onto the scale’s pad to measure the exact pressure in grams and adjust accordingly.
Step 3: Align the Cartridge
Cartridge alignment ensures that the stylus sits perfectly square in the record groove across the entire surface of the disc. Because tonearms pivot in an arc, the cartridge can only be perfectly aligned at two specific points on the record (known as “null points”).
If the cartridge is crooked in the headshell, you will experience Inner Groove Distortion (IGD)—where the music sounds increasingly distorted and harsh as the needle nears the label.
How to Align Your Cartridge:
- Download an alignment protractor: You can print a free Baerwald or Stevenson alignment protractor online (make sure to print it at 100% scale) or buy a plastic alignment protractor.
- Place the protractor: Poke a hole through the center spindle point and slide it onto the platter.
- Align at Point A: Place the stylus tip precisely on the center mark of the outer grid (Point A). Loosen the cartridge screws slightly so you can slide it forward, backward, or twist it in the headshell.
- Square it up: Look at the cartridge from directly above. Adjust the cartridge body until its sides are perfectly parallel to the grid lines on the protractor.
- Verify at Point B: Move the tonearm to the inner grid (Point B). Rotate the platter/protractor slightly if needed to drop the stylus on the center mark. Check if the cartridge sides are still parallel to the grid lines. If not, repeat steps 3 and 4 until it aligns perfectly on both grids.
- Tighten the screws: Carefully tighten the cartridge screws, making sure the cartridge doesn’t twist out of place while tightening.
Step 4: Set the Anti-Skating
As a record spins under the stylus, friction pulls the tonearm inward toward the center of the platter. This inward force is called “skating.” To offset this, modern turntables have an anti-skating control (usually a dial or a small weight on a thread) that applies a counter-force pulling the arm outward.
If anti-skating is set incorrectly:
- One audio channel will sound louder or clearer than the other.
- The stylus will wear unevenly on one side.
- The stylus may skip when transitioning between tracks.
Rule of thumb: As a starting point, set your anti-skate dial to match your tracking force weight (e.g., if tracking force is 2.0g, set anti-skate to 2.0).
Step 5: Adjust Vertical Tracking Angle (VTA) and Azimuth
If your turntable does not have VTA or azimuth adjustments (like many entry-level models), you can skip this step. These adjustments are typically found on mid-to-high-end tonearms.
- Vertical Tracking Angle (VTA): This refers to the height of the tonearm pivot relative to the headshell. When the stylus is resting on a record, the tonearm should be perfectly level (horizontal) to the record surface. If the arm slopes up or down, adjust the tonearm base height. Incorrect VTA can affect bass response and treble clarity.
- Azimuth: This is the horizontal balance of the cartridge when viewed from the front. The stylus should sit perfectly vertical (90 degrees) relative to the record surface. If the cartridge tilts left or right, adjust the headshell rotation. Incorrect azimuth ruins stereo separation and increases crosstalk between channels.
The Ultimate Sound Test
Once you’ve completed all these steps, it’s time to put on a record you know well. Listen for:
- Symmetric Soundstage: Vocalists should sound centered between your speakers, with instruments separated on the left and right.
- Crisp Highs and Clean Bass: High frequencies should be clear without sounding harsh or sibilant.
- Consistent Quality: The final track on the record should sound just as clear and distortion-free as the first track.
Investing 30 minutes in calibrating your turntable won’t just unlock details in your music you’ve never heard before; it will keep your precious vinyl collection sounding pristine for decades to come.
And if you’re a serious collector, don’t forget to document your collection with DiscSnap’s AI-powered vinyl scanner to identify records, check current market values, and organize your library. Happy listening!