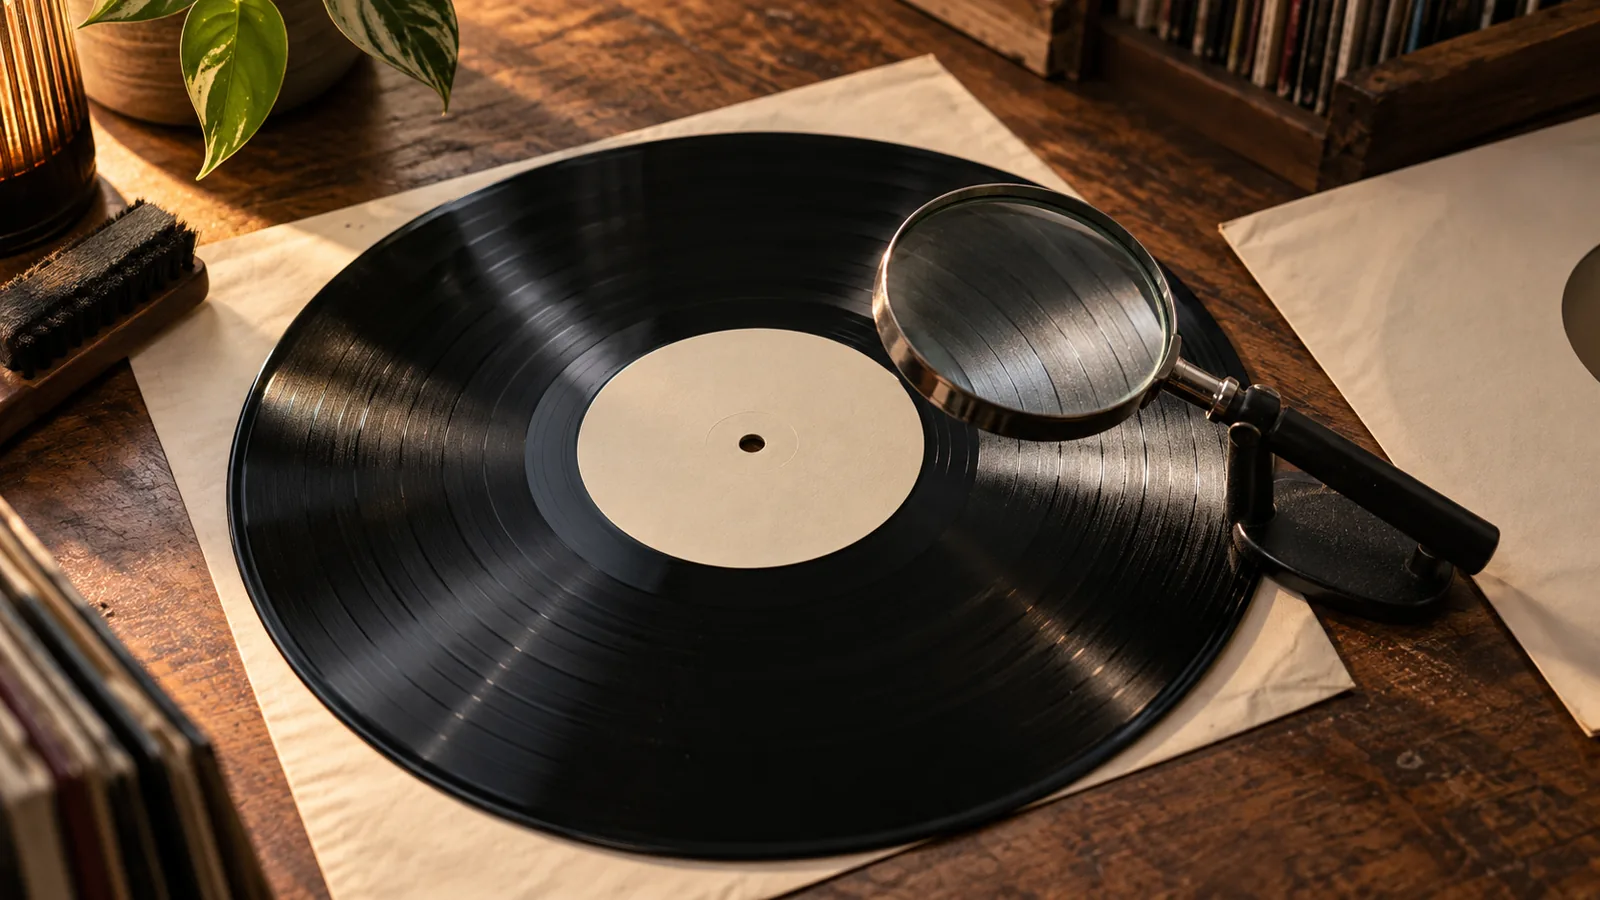

Start with a working playback system and three to five albums you want to hear repeatedly. Check that your turntable, phono stage and speakers connect correctly, leave money for a clean stylus and sleeves, and learn to inspect one used record before buying a boxful. A small collection you play and understand gives you a better foundation than a shelf of unexplained “rare” editions.
This guide takes you from your first equipment check to a manageable first month of collecting. The goal is to enjoy whole albums, recognize what you are buying and keep your copies in good condition. You can learn pressing variants later, when a particular record gives you a reason to investigate.
Decide what belongs in your first collection
Write a short listening brief: “Five albums I enjoy from beginning to end,” for example, or “A small introduction to the music I heard growing up.” Then make a wish list with three columns: album, reason to own it, and acceptable edition. If the edition does not matter yet, write “a clean, complete listening copy.” That is a useful decision, not a gap you must fill with the most expensive pressing.
Listen to unfamiliar music before buying it when an authorized stream, library copy or shop listening station is available. A famous cover does not tell you whether you enjoy side two. Buying records is easier than making time to play them, so let your actual listening determine how quickly the collection grows.
Set a total spending limit before entering a shop. Divide it into the equipment you still need, records, basic care and a reserve. If you already have a compatible stereo, the equipment portion may be small. If a used turntable needs a replacement stylus and servicing, its purchase price is only part of the cost. Ask for a complete quote before treating it as the cheaper option.
Do not build the budget around future resale. A record you enjoy has a clear purpose even if its market price falls. Our record valuation guide explains how edition, condition and actual sales affect price when you need that separate question answered.
Check the playback chain before buying accessories
A conventional magnetic-cartridge setup needs these functions: the turntable and cartridge read the groove; a phono stage amplifies and equalizes that signal; a power amplifier drives the speakers. Several functions can share one box. “Built-in preamp” and “built-in amplifier” are therefore different claims.
A switchable turntable normally sends an unprocessed cartridge signal in PHONO mode and a phono-stage-processed signal in LINE mode. LINE connects to an appropriate line input, often labeled AUX. PHONO connects to a compatible phono input or an external phono stage. Powered speakers include power amplification; passive speakers need it elsewhere.
| What you have | A compatible route | What to confirm |
|---|---|---|
| Turntable with a built-in phono stage, powered speakers | LINE output → speakers’ line input | Input connector and a way to control volume |
| Turntable, amplifier with a phono input, passive speakers | PHONO output → amplifier’s phono input → speakers | Cartridge type accepted by the phono stage |
| Turntable without a phono stage, powered speakers | PHONO → external phono stage → speakers’ line input | External stage supports the installed cartridge |
| Turntable with LINE output, amplifier and passive speakers | LINE → AUX/line input → amplifier → speakers | Avoid the amplifier’s phono input on this route |
Do not apply the phono stage twice: LINE into PHONO can produce excessive level and incorrect tonal balance. Conversely, a cartridge-level output into an ordinary line input can sound very quiet and thin. The manufacturer’s AT-PL50 connection instructions illustrate switching the internal stage for phono versus AUX inputs. They are an example of the principle; use your own model’s manual for its switches and connections.
Before ordering, write the exact model and input/output names for each box. Check whether an existing wireless speaker actually has the wired input or compatible wireless mode your turntable requires. A cable adapter changes a connector; it does not create missing amplification. If the system is used, ask to hear both channels working before agreeing to buy it.
Make the first setup repeatable
Put the turntable on a stable, level surface and keep loudspeaker vibration away from it. Follow its instructions for fitting the platter, belt, mat and cartridge. Adjustable arms need the correct setup for the fitted cartridge; some beginner models have factory-set controls that are not intended to be adjusted.
There is no universal safe tracking-force number for every cartridge. Audio-Technica’s tracking-force instructions explicitly direct the user to the cartridge specification. Use the relevant manual for anti-skate too. A lighter setting is not automatically kinder to a record, and adding a coin to the headshell is not a repair.
Start at low volume with a familiar, clean record. Confirm the correct speed from its label; a twelve-inch disc is not necessarily 33⅓ rpm. Let the cueing mechanism lower the stylus rather than dropping it by hand. Keep the model’s setup instructions with your purchase receipt so future changes are deliberate.
Choose your first three to five records
A practical first basket contains an album you know well, another you expect to replay often, and one discovery. If you want to learn used-record inspection, include a common title whose condition you can examine and, ideally, hear. You do not need a prescribed list of “essential” albums to become a collector.
Choose the purchasing route for the evidence it gives you:
- A local record shop: ask about its grading scale, listening policy and how it handles a copy that skips. Being able to inspect is useful, but it does not make every description accurate.
- An online seller: look for photographs of the actual copy, separate disc and sleeve grades, specific comments and clear delivery/return terms. A stock cover image tells you little about condition.
- A fair, charity shop or private collection: decide what uncertainty you will accept when playback or returns are unavailable. A low price does not repair damaged grooves.
Here is a hypothetical choice, not a market-price example: one seller offers an early pressing with an unexplained repeating click; another offers a later, complete copy that you can hear playing cleanly. For a listening collection, the later copy may better meet your stated purpose. For a historical collection, you might choose differently after documenting the defect.
“Original,” “remastered,” “colored” and “180 gram” describe different aspects of a release. None guarantees enjoyable playback. Use our original pressings versus reissues guide when you are comparing two identified editions, rather than assuming age or weight settles the choice.
Inspect the used copy, not just its cover
Ask permission before removing a shop’s record from its sleeve. Hold it by the edge and label area, then inspect both surfaces under angled light. Look for scratches, obvious deformation and contamination. Do not drag a fingernail through the grooves to test a mark. Visual inspection can identify questions; playback is needed to assess how the copy behaves on a properly set-up system.
Request an honest description of the listening test. “Played the first track” is different from “played both sides without skips.” Ask about recurring clicks, sticking, groove noise and distortion, especially if the seller’s grade is optimistic. If you cannot listen, decide whether the description and return arrangement make the uncertainty acceptable.
Check the package separately: front and rear, spine, seams, corners, inner sleeve and any advertised inserts. A clean record in a worn sleeve is a different purchase from a scratched record in a pristine sleeve. Our sleeve-condition checklist helps describe those differences without letting a tidy cover stand in for playback evidence.
Learn just enough grading to ask better questions
Discogs’ official grading guide uses the Goldmine standard. In that vocabulary, Near Mint is close to flawless, Very Good Plus permits limited signs of use, and Very Good can include audible wear. Good is a heavily worn but playable category, not an everyday synonym for “nice.” Read the seller’s comments as well as the letters.
A sealed record has not been inspected inside. Sealing alone does not establish Mint condition, prove the edition, or rule out a manufacturing fault. Equally, an unsealed copy is not automatically worn. Our Goldmine grading masterclass covers the detailed definitions when you need them.
For your first purchases, choose the condition you can tolerate at a price you can afford. There is no universal rule that a collection must reject everything below VG+. A clearly described imperfect copy can be enjoyable; unexplained skips are a different problem from a little background noise.
Record the edition without guessing
An album title identifies the music, not necessarily the manufactured release. Start with the artist, title, label and catalog number, then compare country information, track listing, format, labels and packaging. A copyright date may describe the recording or artwork rather than the manufacturing date of your copy.
When editions are hard to separate, copy the runout inscriptions on both sides exactly, marking uncertain characters. Compare several features with a release entry and its photographs. Runouts are useful evidence but are not always unique. See the matrix and dead-wax guide for the next level of identification.
Keep an unresolved copy labeled “edition unconfirmed.” That prevents a tentative database match from quietly becoming a supposed fact. You can still listen to and organize the record while you investigate. Photograph the relevant physical details for your own records rather than relying on a seller’s listing to remain available indefinitely.
DiscSnap can help you start identifying and organizing your records. Explore the app on iOS or Android, then check any suggested match against the copy in your hands. Cover recognition does not establish every pressing variant, condition or authenticity.
Build a small care routine you can maintain
Handle records by the edges and label area. Store them upright with enough support to avoid leaning and enough room to remove a sleeve without forcing it. Keep the collection away from direct sun, heaters, dampness and unstable storage areas. The Library of Congress care guidance supports careful handling, protective enclosures and stable storage conditions.
Use clean, suitable inner sleeves; keep original printed inners with the album when replacing a dirty sleeve for playback use. Remove loose dust using an appropriate record brush according to its instructions. Wet cleaning needs a method and fluid suitable for that record material, careful handling of the label and complete drying before resleeving. Do not apply a vinyl cleaning recipe indiscriminately to shellac 78s or other formats.
Cleaning can remove contamination; it cannot restore a worn groove or erase a scratch. Follow the stylus manufacturer’s cleaning instructions and investigate persistent mistracking before continuing to play valuable copies. Buy more elaborate cleaning equipment only when the records you actually own give you a reason to use it.
Keep a catalog that answers real questions
For a small collection, a spreadsheet or notebook is enough. Record artist/title, format and speed, label/catalog number, edition certainty, separate disc/sleeve condition, purchase date/source and amount paid. Add a short listening note with side and track: “Side B, track 2: repeated click near the start” is more useful than “sounds old.”
Keep purchase cost separate from any later estimated value. Keep seller descriptions separate from your own observations. If you change an edition match, note why. These habits make the catalog useful for avoiding duplicate purchases and finding the copy you intended to play, even if you never sell anything.
A simple collection rule also helps: before buying another version of an album, write what you expect it to add. A different mix, complete artwork or a cleaner listening copy is a concrete reason. An unsupported “rare” label is not.
A first-month plan and a troubleshooting check
| Stage | Practical task | Useful result |
|---|---|---|
| First listening session | Confirm signal route, speed and setup with a known record | A working reference system |
| First shopping trip | Compare a few wanted titles; inspect one used copy carefully | A short list with explicit condition questions |
| Following week | Listen to both sides and create a catalog entry | Your own observations rather than seller shorthand |
| End of month | Review what you replayed and what remains unresolved | A reasoned next purchase or a decision to wait |
If playback disappoints, change one thing at a time. When every record is quiet or distorted, first check the signal route and setup at low volume. When a fault occurs only on one copy at the same point, document it and compare with a known-good record. Stop if the stylus is visibly damaged or repeatedly mistracks; consult the equipment instructions or a qualified repairer instead of experimenting with force.
For a recent purchase, preserve photographs and a clear description of the problem, and contact the seller within the applicable return process. Do not attempt to flatten or aggressively clean a copy before discussing the problem. Your first month should leave you with records you understand, a system you can use and a clearer idea of what you want to hear next.
If a seller claims a rare first pressing, use our fake and bootleg vinyl inspection guide to compare the actual edition before paying a premium.
Editorial method — revised 28 September 2026: DiscSnap Team reviewed this introduction against manufacturer setup instructions, Discogs grading definitions and Library of Congress preservation guidance. The purchasing examples are hypothetical; this is not a hands-on equipment test or a valuation. The revision replaces earlier blanket sound-quality, appreciation, condition and identification claims. The hero is an original AI-generated illustration.