

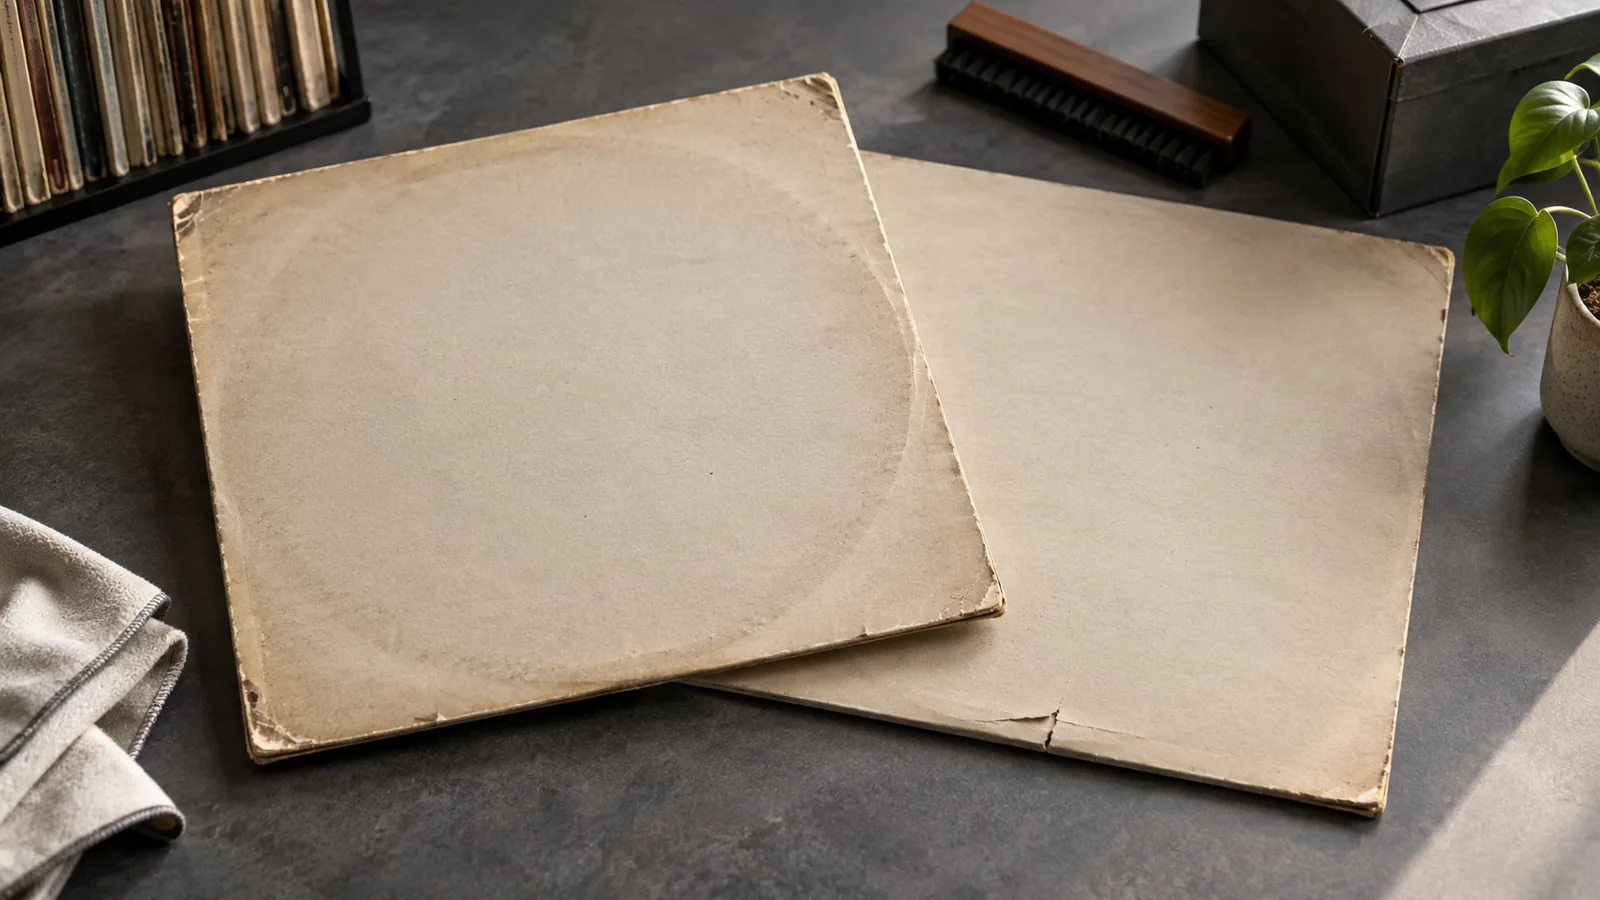
Assess a vinyl sleeve separately from the record inside it. Describe the actual defects, check that the packaging belongs to the edition, and account for the inner sleeve and inserts. A glossy disc in a damaged jacket is not the same proposition as an equally clean disc in complete, well-preserved packaging.
Ring wear, seam splits, sticker residue and cutouts describe different things. They should help a buyer understand the object, not serve as interchangeable shorthand for “old.” This guide shows you what to inspect, how to photograph it and how to write a useful condition description. For the full grading scale covering both disc and sleeve, start with our Goldmine grading masterclass.
First, establish what the sleeve actually is
A record’s packaging can include an outer jacket, printed or plain inner sleeve, lyric sheet, poster, stickers, booklet and other material. A gatefold jacket has an opening panel; a single-pocket jacket does not. A replacement protective sleeve is useful storage, but it does not replace a missing original printed inner for the purpose of describing completeness.
Before assigning a grade, compare your copy with a reliable listing of the specific edition. Check the catalog number, spine text, rear-panel credits and expected contents. An insert shown with one country’s release may never have accompanied another. Avoid calling something “missing” until you have established that it belongs to this version.
Conversely, a familiar front cover does not prove that the jacket and disc are an original pair. If their catalog numbers or format details disagree, record the mismatch. The guide to reading vinyl labels explains which identifiers to cross-check. A replacement jacket can still be useful, but a buyer should know what they are receiving.
A practical vocabulary for visible defects
| Description | What to look for | What to record |
|---|---|---|
| Ring wear | A circular or partial circular area of rubbing associated with the outline of the disc | Which panel, how extensive, and whether the surface is merely rubbed or worn through |
| Seam split | An opening along a joined edge of the jacket | Top, bottom or spine; approximate length; any attempted repair |
| Edge or spine wear | Rubbing, fraying or loss of surface along an edge | Location, extent and whether spine text remains readable |
| Crease or corner damage | A fold line, bent corner or compressed section | Position and whether it affects one panel or the whole jacket |
| Sticker residue or removal damage | Adhesive, discoloration, lifted paper or missing surface where a sticker was | Area affected and whether the sticker itself remains |
| Cutout | A deliberate notch, clipped corner, punch hole or similar mark | Type and location; avoid presenting it as ordinary handling wear |
| Writing or stamps | Names, prices, shop marks or other additions | Where they appear and whether they obscure original information |
These are descriptive categories, not automatic grades. Several modest problems can add up to a noticeably worn jacket. One conspicuous defect can also dominate the buyer’s experience even when the rest of the sleeve is attractive.
Ring wear: look at the surface, not just the circle
Ring wear is easiest to judge when you can distinguish the printed image from rubbing across it. Examine the front and back under soft, angled light, then view each panel straight on. A dark photograph can hide wear; a harsh reflection can exaggerate it or make a glossy panel unreadable.
Describe whether the mark is faint, partial or heavy, and whether it has removed color or exposed the underlying card. Do not call a sleeve “clean” without qualification if the front is bright but the back has a strong worn ring. A useful description might say: “Faint upper arc on the front; heavier circular rubbing on the rear, with small areas of white card visible.”
Distinguish ring wear from a printed circular design and from a temporary reflection on an outer plastic protector. Photograph the jacket outside that protector when it can be removed safely. Do not remove attached, fragile or unusual protective material just to improve a listing photograph; explain the limitation instead.
Seam splits: location and length matter
Inspect all three closed edges and the opening. A split along the bottom seam, fraying at the mouth and a crushed spine are different defects. Lay the empty jacket on a clean surface and look gently along the joins. Do not pull a weak seam apart to discover its maximum possible length.
Measure a split approximately and name the edge. “About 3 cm split at the center of the top seam” tells a buyer much more than “some edge wear.” If a seam has tape, glue or another repair, disclose it and photograph the repaired area. The repair is part of the condition; it does not make the original damage disappear.
The distinction between a tiny split and substantial damage matters within established grading standards. Goldmine’s published guide allows limited defects in VG+ packaging while setting much stricter expectations for Near Mint. It specifically treats seam damage differently according to extent. Read the standard as a whole rather than applying a rule that every visible split must receive the same grade.
Cutouts, stickers and stamps: identify before interpreting
A deliberate cut or hole can tell you something about how a copy was handled commercially, but it does not by itself establish a special pressing. Do not label a copy “promo” solely because a corner was clipped. Check the disc, any explicit promotional wording and the release documentation.
Discogs’ general database rules explain that a cutout does not on its own constitute a separate release. That is an identification principle, not a claim that the mark is irrelevant to a buyer. Describe both the edition and the alteration.
For stickers, separate an original release sticker, a later shop price label and an unidentified adhesive mark. If you cannot establish the sticker’s origin, say so. A dated shop sticker can be interesting context, but it is not proof that the record was manufactured that year.
Do not promise that residue “will clean off.” You cannot know the result without risking the surface. Likewise, a sticker covering an area of the sleeve prevents a complete inspection of that area. State what is visible and avoid guessing about what lies underneath.
Choose a grade after writing the observations
Start with the defects, then consult the standard you intend to use. This order reduces the temptation to choose a desirable grade and explain away anything that contradicts it.
Discogs’ grading guidance uses the Goldmine framework and distinguishes sleeve condition from media condition. Near Mint packaging has a substantially higher bar than an ordinary used sleeve; VG+ can allow limited wear, while more obvious defects belong in lower assessments. A generic sleeve should not be presented as the original picture jacket for a particular release.
A grade is still a compressed judgment. Pair it with the description, especially where the defect is unusual. “Sleeve VG; 4 cm bottom split, name on rear and moderate spine wear; printed inner present” is more useful than “VG, see photos.” If you are unfamiliar with grading, describe the condition honestly and explain that your assessment is provisional.
Do not derive the disc grade from the jacket grade. Remove and inspect the record safely, and distinguish visual inspection from playback. A tidy jacket may contain a heavily played disc; a tired jacket may protect a better-preserved one.
Photograph the sleeve so another person can assess it
Use a repeatable sequence rather than a collection of flattering angles:
- Front panel, square to the camera and fully in frame.
- Rear panel, including small print and any stickers or writing.
- Spine, with readable text where possible.
- Top and bottom seams, plus the mouth of the jacket.
- Gatefold interior, if applicable.
- Inner sleeve and inserts laid out separately.
- Close-ups of significant damage, with a ruler beside a split if helpful.
Keep the ruler beside the object without pressing it into fragile material. Use enough resolution to show texture, and avoid filters that change color or conceal rubbing. If glare prevents a clear photograph, take a second angle rather than relying on an overprocessed image.
A photograph should clarify the written description. If you mention a split, include an image that actually shows it. If an outer protector remains in place because removal would be risky, identify that limitation. Keep the original image files so a buyer or specialist can request a closer view.
A worked description: specific without exaggerating
Consider this fictional inspection note:
Original gatefold jacket. Moderate ring wear on the back; light rubbing on the front. Approximately 2 cm top-seam split near the opening. Spine readable with wear at both ends. Previous owner’s name in the upper rear corner. Printed inner present with a split along its bottom edge. No poster included; whether this edition originally had one is unconfirmed. Disc condition assessed separately.
This description is useful because it separates observations from uncertainty. It does not claim the sleeve is complete while the insert question remains unresolved, and it does not describe the whole item as damaged merely because one component has a split.
For a selling listing, resolve the poster question where possible and add the chosen grading standard. For a collection inventory, retain the uncertainty as a task to revisit. Our record-appraisal preparation guide explains how those notes help a specialist understand a collection without repeatedly asking for missing details.
Preserve condition after documenting it
Good documentation has limited value if storage then causes avoidable damage. The Library of Congress guidance on recorded sound recommends upright storage with adequate support and a stable, clean environment away from direct light and sources of heat or water. Handle records at the edges and label area.
Keep valuable original packaging, even if a separate protective inner is used for the disc. Avoid overfilled shelves that make removal difficult, and do not place adhesive inventory labels directly on collectible surfaces. For broader handling and storage advice, see our vinyl care guide.
If you suspect significant contamination, an unstable repair or material that may tear, pause handling and consult an appropriate preservation specialist. This guide is an inspection workflow, not a treatment manual.
Make the sleeve part of your collection record
After identifying an album, keep photographs and condition notes alongside the edition details in whatever inventory system you use. Date the inspection and retain separate fields for the record, jacket and included material. That makes future comparisons more meaningful and prevents an old note such as “excellent” from losing all context.
DiscSnap can be a starting point for identifying records while you build that inventory. You can explore the app on iOS or Android, then verify the edition against the physical evidence. Photographs, grading judgment and honest descriptions remain essential parts of assessing the copy in your hands.
Editorial method: DiscSnap Team, 22 September 2026. This guide combines the cited grading and preservation references with an original inspection workflow. The worked description is fictional. The hero is an original AI-generated conceptual image, not a photograph documenting a particular record’s condition.